This post may contain affiliate links. This simply means that I will earn a small commission, at no cost to you, if you purchase through a link. I would and have recommended all of the products I list even without a link.
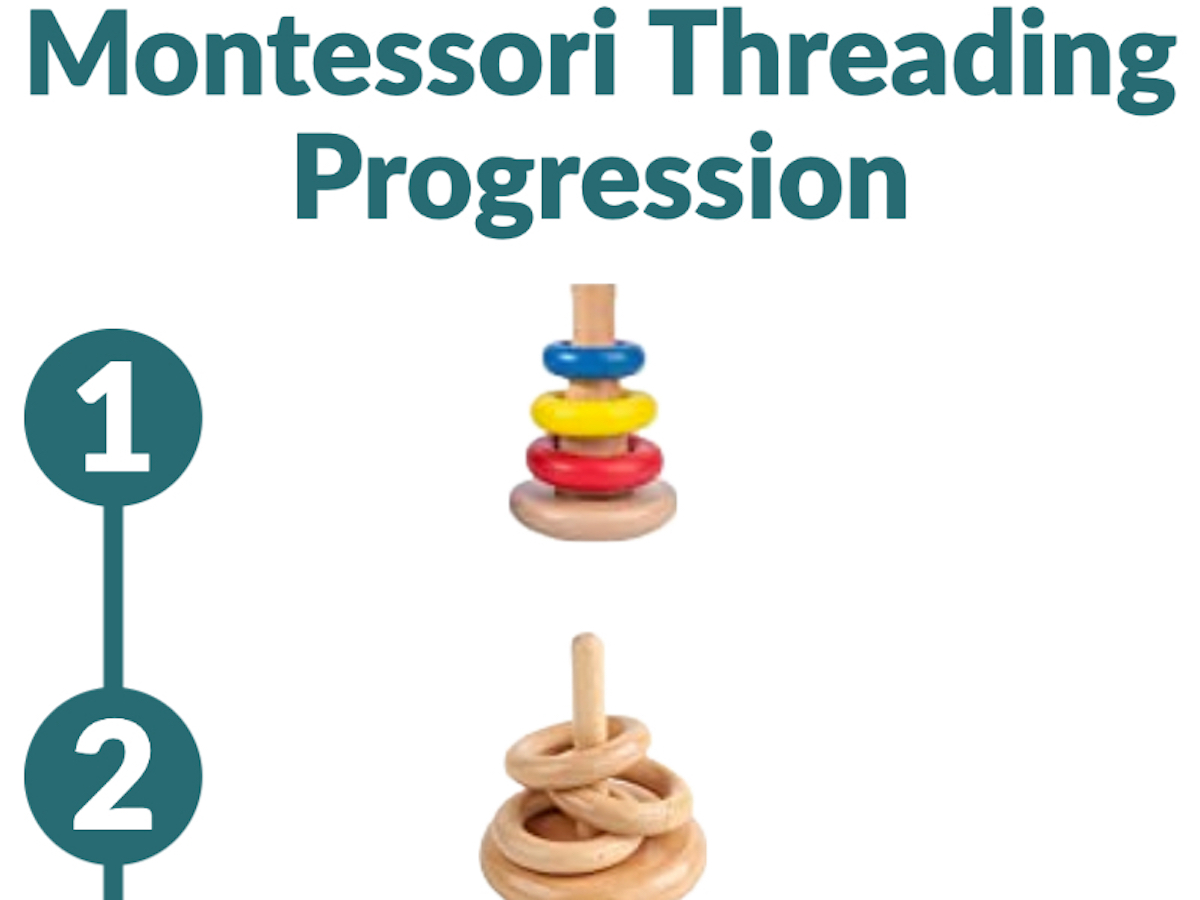
Level 3 introduces the wooden discs we will use in many of the future levels. The discs have narrower centers, which require the child to be more precise when placing them on the dowel.
Primary Goals
- Develop fine motor skills.
- Develop hand-eye coordination.
- Develop pincer grasp.
Secondary Goals
- Develop concentration and problem-solving skills.
Approximate age
11 months, or as soon as the large rings in level 2 become too easy.
Materials
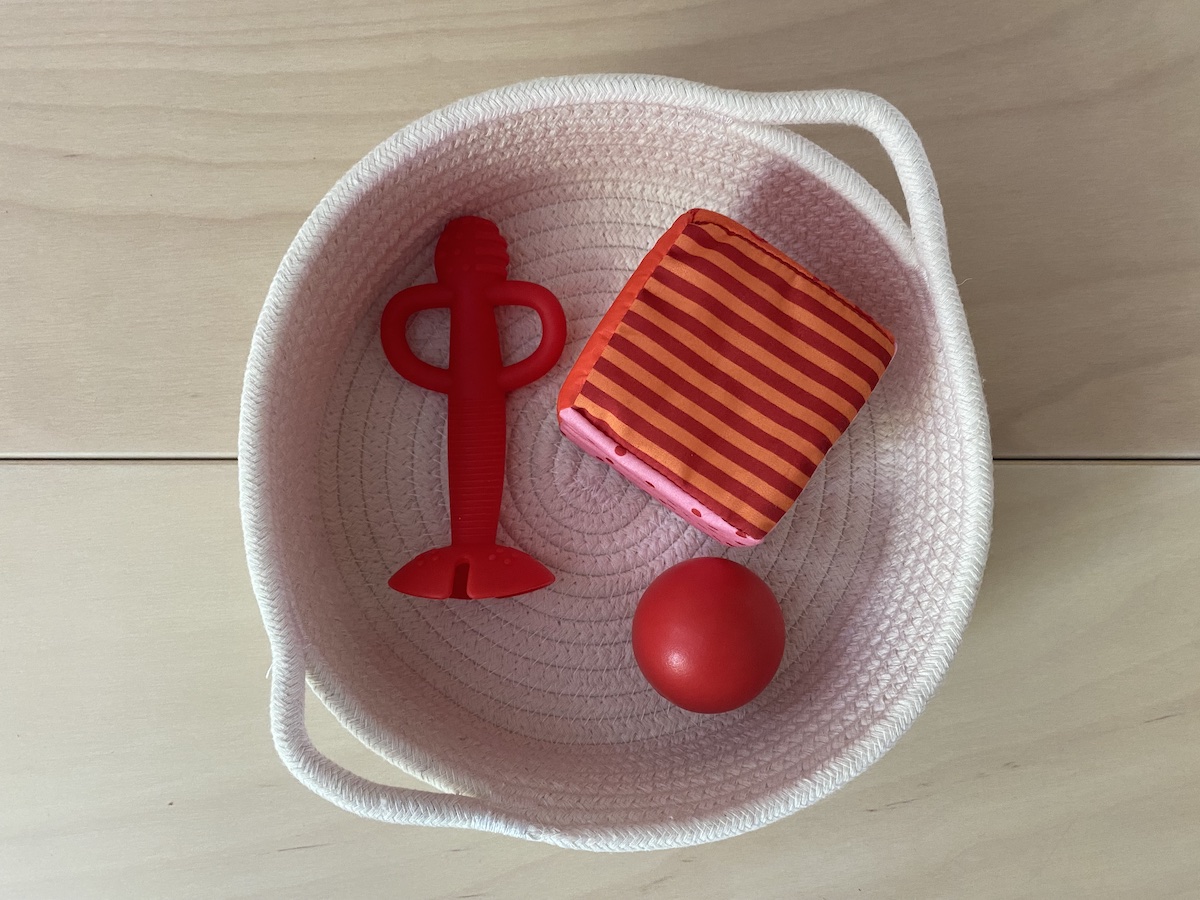
There are a lot of versions of the discs on a vertical dowel, but I like the one from Adena Montessori because of the base and use of basic colors. The base allows us to add in putting the rings back in place, reinforcing the puzzles we are also working on, while the colored discs become fun additions to color-themed treasure baskets we’ll use throughout the next 6 months.
Presentation
- Begin with the discs in their spots on the base.
- Bring the tray to your child’s work area.
- Wait until your child is looking.
- Using the pincer grasp, pick up a ring from the base.
- Look at it and observe the small hole.
- Put it back in its place in the base.
- Pick up another ring from the base.
- Slowly place it on the dowel.
- Take it back off and place it in the base.
- Repeat with multiple discs.
- Once the child shows interest, allow them to take over and move aside.
- Help the child put everything away when they are done.
Easier variations
There aren’t easier versions with this material. Instead, move back to the large rings in Level 2: Large rings on a vertical dowel. If the child still struggles, look for additional discs with holes between the two sizes, such as these 1in wooden rings.
Extensions
You can add language on top of this by saying “on” and “off” as the child adds and removes the rings.
